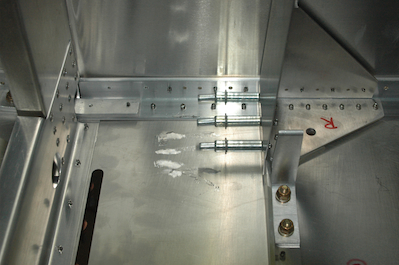
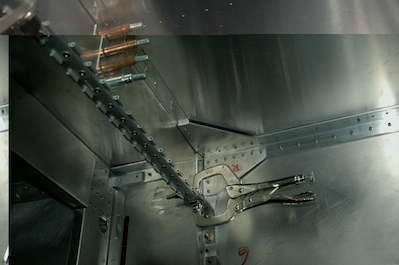
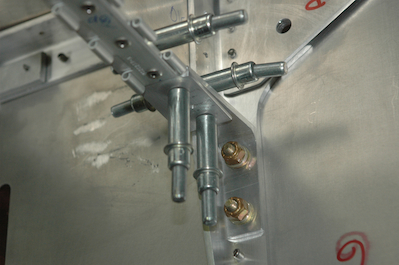
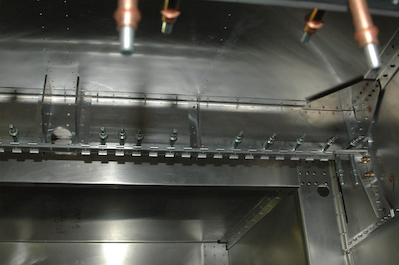
Continuing with the channel installation, the first picture below shows the channel now attached to the short vertical angle that is part of the seat belt attachment and seat support angle.>The second picture shows the modified angle clamped in place. The next two pictures show the angle pilot drilled and attached.
These two pictures show the channel attached to the angle. There is a problem however. The holes are too close to the edge of the channel. It turns out this is a consequence of using the .125 angle. The location of the pilot holes should have been moved slightly to compensate. I will use a doubler to fix this.