Click on picture to
|
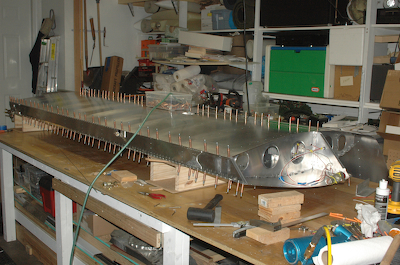
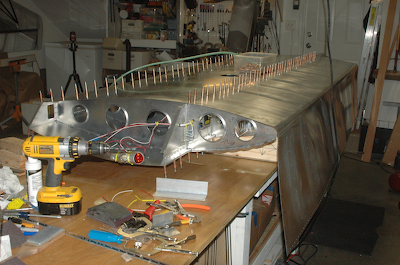
Then it gets exciting. After months of work on the wings it is nearly time to rivet. The wing is still upside down and I attached the bottom skin. Then I attached the bottom edge of the leading edge skin – which I finished dimpling as well. After these two pictures where taken, I leveled, and secured the wing in position. There was only one more thing to do….
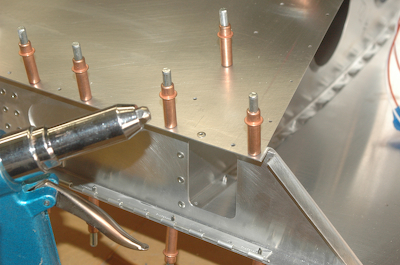
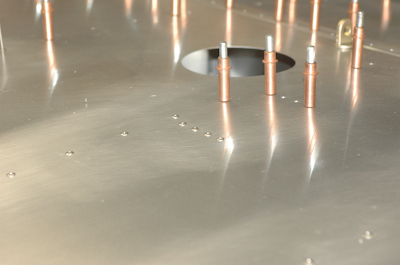
…start riveting! The first picture shows the first wing skin rivet in place. The second picture shows the supports for the bell crank assembly mostly riveted in place.
|