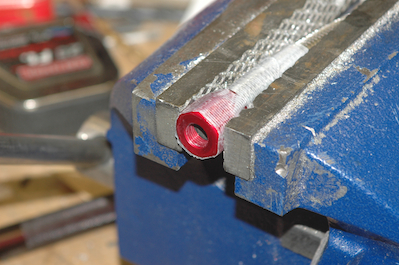
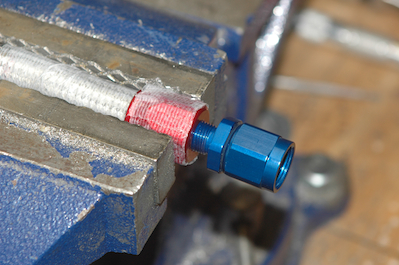
The first two pictures show the installation of the second part of the hose fitting. On one end is an adaptor that will mount to a flare fitting and on the other end is a threaded and profiled tube that is inserted into the hose and attaches to the red fitting. It locks the hose in place. I still have the tape on the red fitting but there is also a piece of tape around the hose flush up against the rear of the red fitting. This is there to indicate whether the hose has gotten pushed out while installing the blue fitting. If it has, the hose end is not secured. I bought a real thin oil that I put on the blue fitting and allows it to smoothly fit into the rubber hose end.
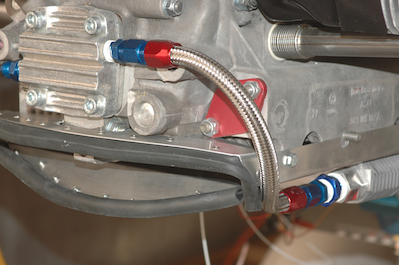
Picture three shows the first hose completed and installed. Then I made the second hose and installed it. Both hoses were cleaned out with mineral spirits before attaching. It was actually pretty easy work with one caveat. It was easy because I practiced cutting off hose ends with both of my cut off wheels. It was not easy to get them square and all the steel wires cut cleanly. I have a small pile of 1/4” sections of mangled hose. The first hose also turned out about three inches too long and had to be shortened.