Click on a picture to
|
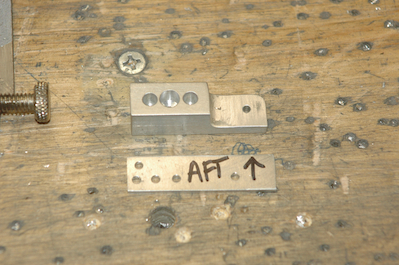
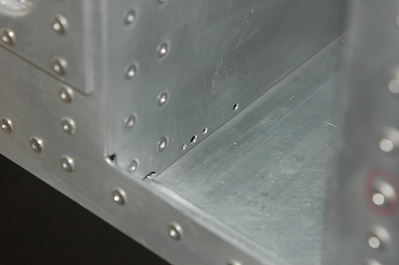
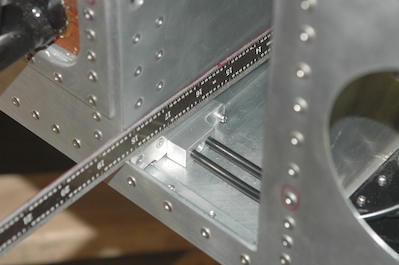
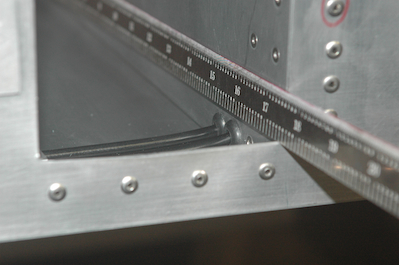
OK, now for a little editorial venting. I am in love with my Sonex and believe the plans and kit are exceptionally well done. I have sometimes deviated from the plans build order for my convenience and some of my deviations have made it easier for me to construct my airplane. But by and large, if you follow the Sonex mantra of start at the bottom of the building plan tree and work up, all will be well. I consider the piece pictured below a laborious exception. This piece and all the supporting holes should clearly have been done at spar tunnel construction time. I had previously noted that the brake support bracket should also have been done along with the flap control brackets. That piece wasn’t so bad, but trying to drill these holes and put in these rivets with a completed fuselage and instrument panel was torture. It clearly can be done as these pictures testify but I cursed a blue streak as I realized how difficult this would be as opposed to how trivial it could have been. So, if you are building a tricycle Sonex and have not gotten to the spar tunnel, go to the brake plans page and make this part, the brake support bracket, and mark up the fore and aft tunnel for these holes. Better yet, you will be able to provision for antenna routing or small electrical bundle routing by taking advantage of this space on the right side of the airplane. As ventings go, not much of one but I was upset! To get the holes in place, I made a 0.060” drilling template, match drilled to the cable guide. I then taped this to the forward side of the spar tunnel in the correct position. Using one hand through the flap handle opening and another hand on the drill – with a flexible shaft attachment – I got the bit into each hole by feeling my way around. I then updrilled as needed for the larger rivet holes with the guide clecoed in place. I got the larger rear spar holes drilled by first marking them on the rear side of the spar tunnel. Remember, at this point in the build you don't have unobstructed access to the rear spar because the gear weldment is in the way. I then used my spring punch repeatedly to make a nice large indent. I used a small drill on a flexible shaft to get a hole started and then using foot long bits stepped the hole larger and larger until I got to 5/16”, It took several hours to drill six holes and install two rivets and two grommets.
|