Click on a picture to
|
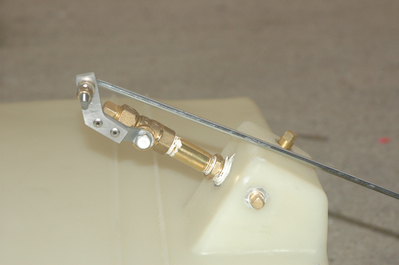
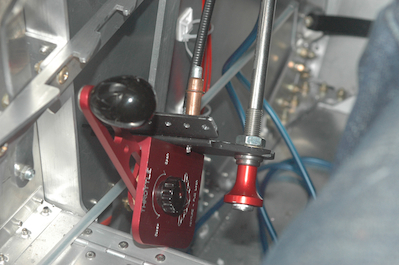
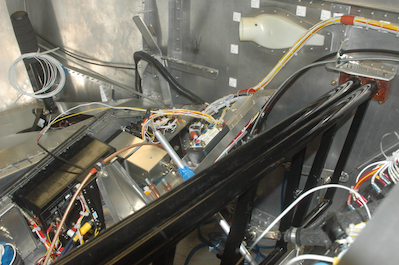
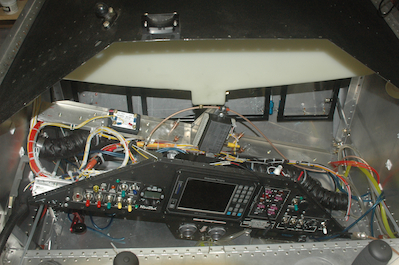
The title says it all, getting there however took some work. After the last post, I fitted the fuel tank with most of the remaining hardware and did a preliminary leak check. The first picture shows the tank after installing the plumbing hardware, and also shows how the valve will be opened and closed with the rod. Then it was time to do a dry run of my tank installation procedure. When I wired up the panel, not only did I provision for the wire runs to pull out with the screwed on panel when it is removed, I also designed in the ability for the entire panel to be dropped down to the floor of the cabin so the tank could slide in above it. At least that was the theory. The remaining pictures show the dropped panel and the successful install of the tank. I then brought the panel back up to make sure it could now get by the tank (which it did) and double checked all the circuits to make sure nothing got knocked loose or was in the way.
|