Click on a picture to
|
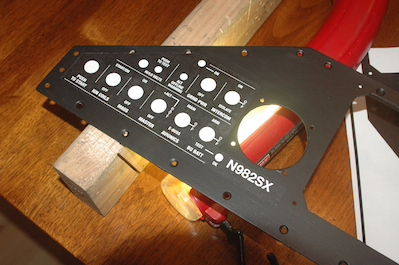
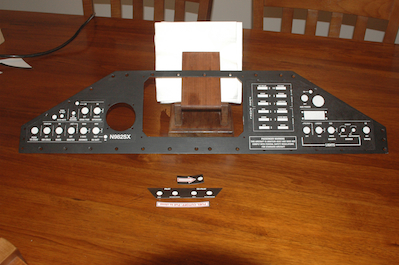
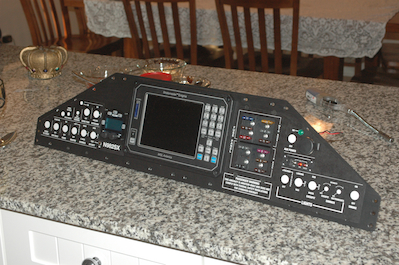
So how did I do it? The labels are just printed off of my laser printer on 24# stock. I then use the adhesive shown. The problem is, this adhesive really needs to be applied to both surfaces and allowed to set up a bit before bonding them together. Step by step: I first have to position the label over the holes correctly. Picture two shows after the fact how I used light from below to line up all the holes. I then had to hold the label in place with small pieces of masking tape and mask all around the outside edge of the label. Lifting the label then revealed the area to spray on the panel. I then sprayed the panel and the rear of the label, let them set for a minute and then bonded them together. The last step was to remove the masking tape from the panel. The last picture shows the panel after cutting out some of the holes and mounting some items.
|