Click on a picture to
|
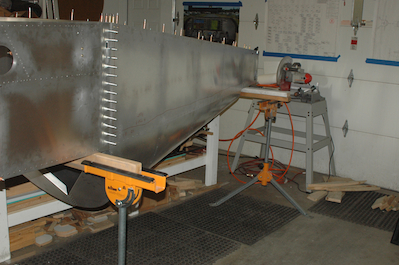
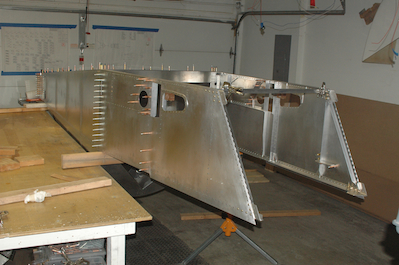
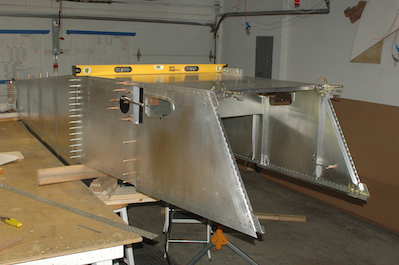
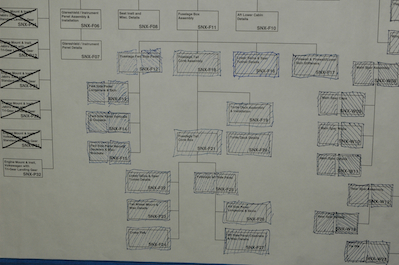
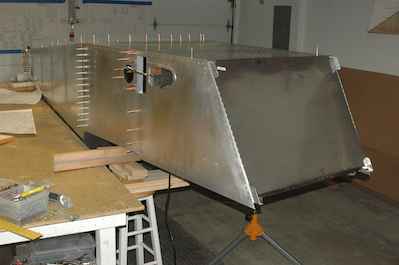
With all the crossties ready I made a small bend in the supplied forward bottom skin and two bends in the supplied firewall. It was then time to start installing all of those pieces. The question was how? Most of all the pilot holes – and all of the ones done first – were in the bottom skin. I decided it would be easiest to turn the assembly over and then drill the bottom skin to the lower longerons. The first two pictures show supports and the fuselage in its position for assembly. In the third picture, I have leveled the whole structure and test fitted the lower skin. I forgot to mark off the plans page when I finished all the cross members. Picture four shows the current status with the fuselage box assembly the next step.
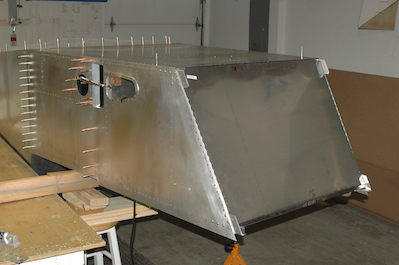
These two pictures show the firewall loosely fitted to check for any issues. It fits very well with no sign of the forward fuselage being out of square. I will not be fitted until the upper and lower crossties have been attached. Tomorrow we drill!
|