Click on picture to
|
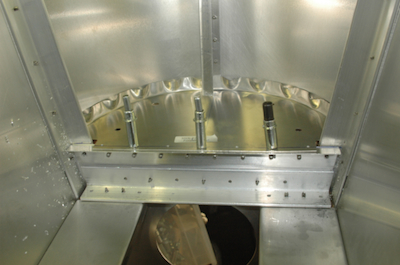
It was fun to attach the turtle deck skin shown in the last post, but at that point, I hadn’t even finished drilling the holes in the left side before I had to quit for the day. (Note: The plans call for attaching left to right but I went right to left) These two pictures show the completion of the pilot drilling of the left side.
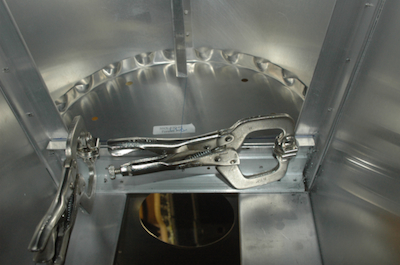
Before I got to the turtle deck section, I had reviewed the plans many times, but had assumed that skinning the turtle deck would be like skinning the wing – fit and attach all the ribs, then mount the skin. When I actually got to the plans page and read the general construction order, I was not sure I understood them for a while. It took me several readings and some thought before I realized that they wanted the skin mounted first, with no formers in position. This seems to be so that the skin can float fore or aft as needed during fitting to keep it from twisting. Since the skin went on first, I realized that fitting all but the front one would be challenging from an access standpoint. One of the reasons the bottom skin is not supposed to be riveted yet is to allow access for these. So through the bottom I came to start with the aft most former. Clamp it in place and drill.
|