Click on picture to
|
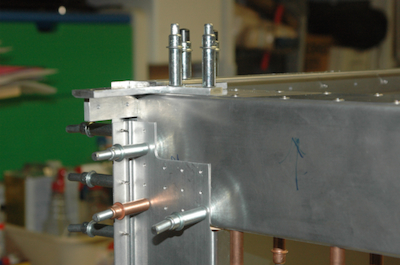
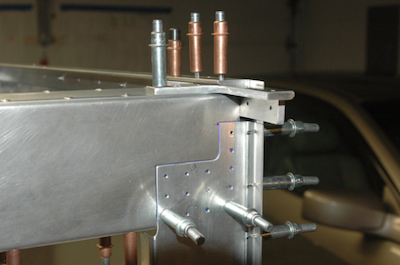
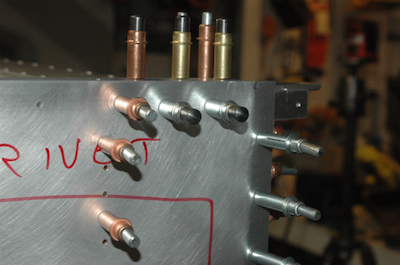
Now it’s the items I couldn’t attach with the assembly upside down. These two pictures are the left and right shoulder harness attach points.
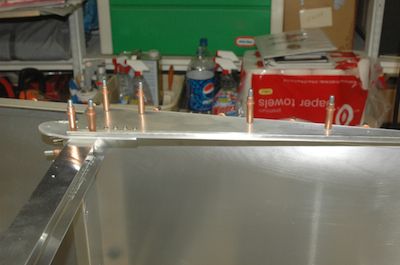
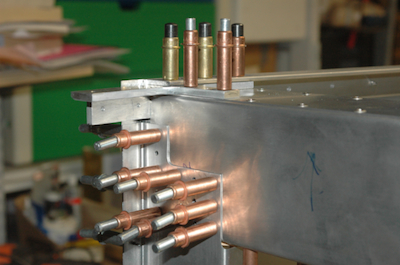
Then it was time to attach the box beam I built earlier. At this point I have locked it in position all squared up and drilled some holes to fix it in place. Getting here was an issue however. This seems to be the first place I have run into where the dimensions don’t add up right. The overall width the fuselage, in line with the front edge of this box beam, is 40”. I made the box beam dead on to the dimensions of 39 7/16. When I inserted it in place it was a very tight fit. When I measured, the overall width was 40 and not quite an 1/8”. I looked at the pieces and realized that just the splice plates alone added up to 10/16” and then you have to add the two thicknesses of the skin for a little more. In short – 40” and not quite an 1/8” It took me a long time of going back and reading the plans and reviewing everything before I was willing to take almost a 1/16” off of each end. In the end I did and it fits perfectly and the whole frame is nice and square.
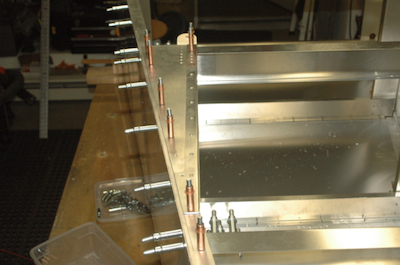
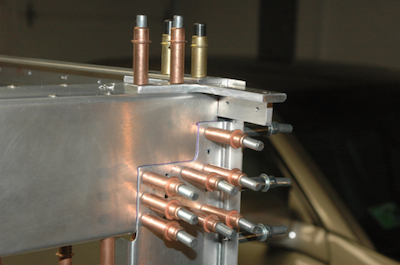
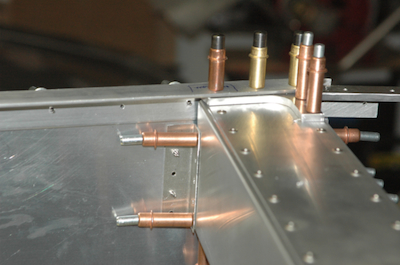
The two pictures above are of the box beam after all the holes have been updrilled to finished size. Then I attached two clips to the back of the box beam on each side. These pictures show the clip on the inside of the left side and the outside holes on the right.
|