Click on picture to
|
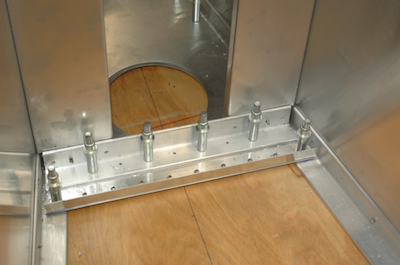
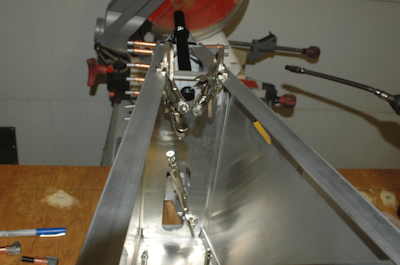
These start to get a little harder. I have to use my flexible drill shaft to reach down into the assembly for some of these. The fuselage section is locked down here so there is no other way to get at these. Sequencing becomes very important. In the first picture, I have already drilled the angle to the vertical channel and am sliding the piece it rests on around to get it in its proper place. (I didn’t drill it while the piece was over the beveled lighting hole, that would have raised up the angle too high). The second picture shows the piece in place with the first clecos in place. Then they are all in.
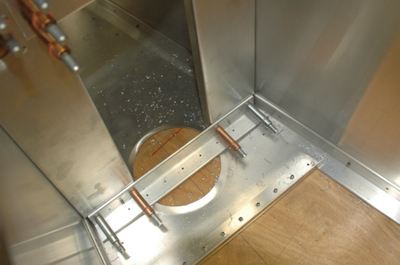
Next section back and these get a little harder still. So hard in fact that the clamping job – that looked alright at the time – was crapola. I drilled the channel in place along the skin, only to was running a quite an angle, but I didn’t see it until after I went to drill the holes in the angles it also attaches too. The piece couldn’t be saved as it was because the holes where so far off near one end. I didn’t have any stock to make a new one from so I made doublers for the flanges. And rather than just make them a strip I made them as angles and riveted them on. All very neat and tidy in the end and the piece went in fine.
|