Click on thumbnail to
|
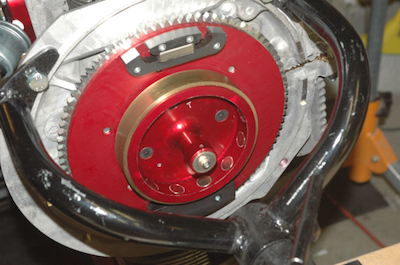
It was time to torque the gland nut. This nut needs to be torqued to 227 ft/lbs. I have engineered all sorts of ways to do this in my mind. One thing I needed to do was reinforce my stand. I have been comfortable with it so far, but as I have added a lot of weight the lip of the table has shown so sag. With the torquing I was going to put a lot a force on the stand so I engineered a two step fix up. When I was at Home Depot getting materials for the reinforcement along with materials to jury rig my torque apparatus I spotted a beauty of a torque wrench that works up to 250 ft/lbs. I couldn’t resist. I even checked it’s calibration against my nice beam torque wrench that goes up to 150 ft/lbs and it was spot on. All of that to say, that nut at the back in the center in the first picture is now locktited and torqued on. With that on, I could add the timing trigger for the electronic ignition. It is the plate and spindle covering the gland nut.
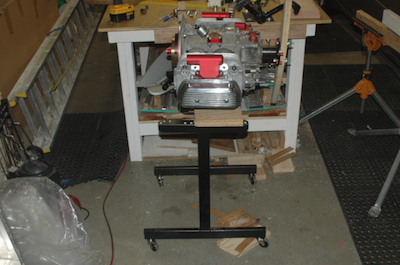
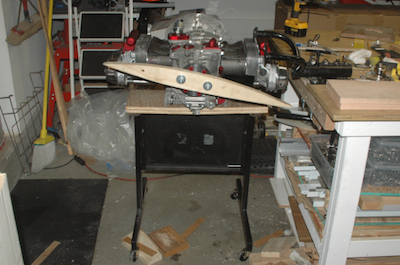
At some point in the build I have to get engine off the rebuild stand to add the Sonex mounting plate. This plate houses the magnetos, alternator and starter. I planned on using my old heavy duty printer stand and these pictures show the engine on the stand. It is very stable and the 160 lbs of engine will be no problem. I took it off to see how it would work. I will make a slight adjustment to were it sits on the stand. All of the remaining weight will go on the back but even still, the CG will end up about an inch in front of the center as if sits right now, so I will move it back. I also took it off so I could do phase two of my engine rebuild stand rebuild.
|