|
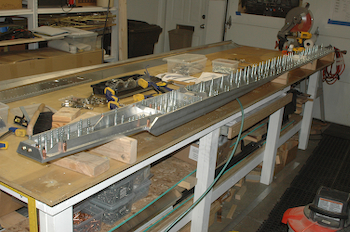
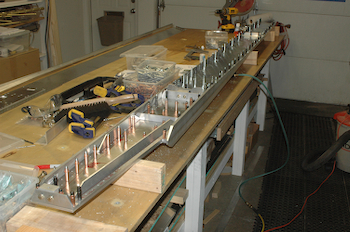
The top two pictures show the spar after all the holes were drilled to the smallest size and then after they had all been drilled to the final size for now.
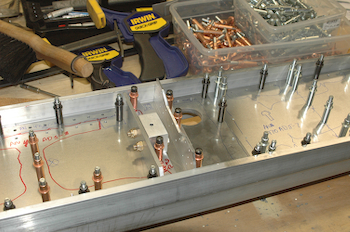
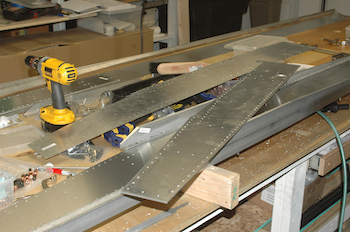
I didn’t take all the holes to final size yet because in the next step, I want some of the holes to be one size too small. The next picture shows the mark up of the spar for drilling. All the holes outlined in red will be flush riveted or bolted. These are the holes I’m leaving one size too small. All of the holes outlined in black or blue are round headed rivets (blue) or hex head bolts (black). In this case the color indicates the final hole size as well. After all the holes were drilled to the indicated size, I had to take apart the inboard end of the spar, turn it over and remove the center web and the aft web. The center web will be countersunk and the aft web will be dimpled – it’s too thin to countersink.
|