Click on a picture to
|
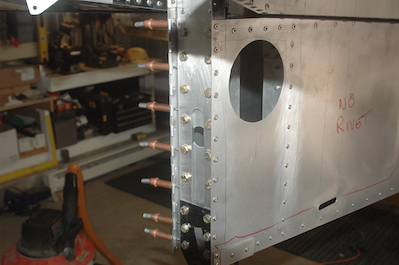
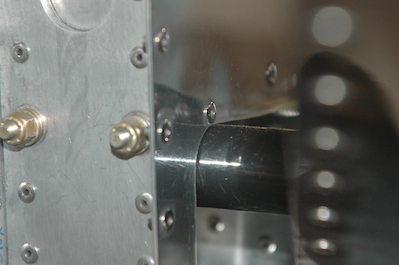
Fitting the vertical stabilizer started out the same way as the horizontal. I had to take it on and off a bunch of times to trim off tiny amounts of skin to clear the fuselage. Although it took awhile, it was very straightforward and when I finally had it clamped in position, I drilled the holes and bolted it all up. The second picture shows the forward attach point all bolted in. Before I could add those bolts however, I mounted nut plates on the back of the mounting plate. There is no access for nuts back there.
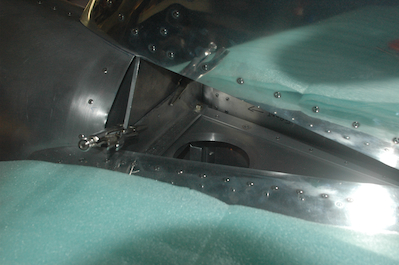
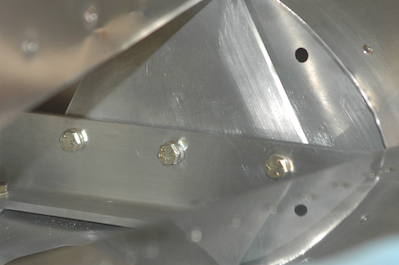
The first picture below is right after I finished bolting in the rear spar to the fuselage. All these holes had been drilled already and spacers were used in the construction of the aft fuselage section. The spacer are now gone and replaced with the vertical spar. This is however where it turned tricky. The last photo gives a hint of the problem and the solution. I was about to start mounting the rudder when I double checked the movement of the elevator. The elevator still traveled all the way to the down stop but did no longer travel all the way to the up stop! There was interference. Moving the horizontal stabilizer to the aft that small amount raised its head again and caused the drive horn to be interfered with by a small bracket on the spar. That bracket was held on by the two bolts visible in the last picture. Those bolts also interfered with the drive horn travel. In addition the drive horn was also interfered with by the lower edge of the skin! All of these interferences were tiny but they had to be eliminated. To do that however, all those bolts had to be undone and the vertical stabilizer removed. The long and the short of it is that I turned the two bolts around as shown in the picture. I filed the drive horn, the skin and the bracket and eventually got it all to fit just fine. Slowly but finally, all was well and the vertical stabilizer was finally bolted in place.
|