Click on a picture to
|
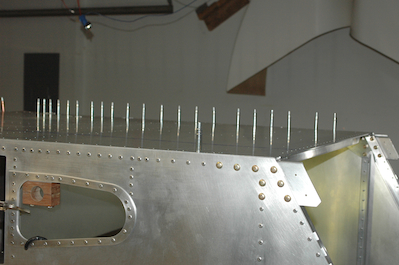
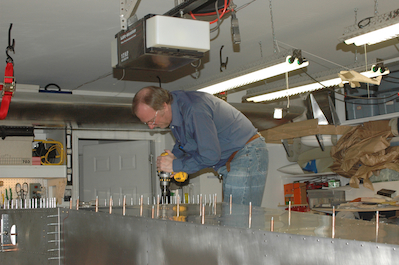
With all the pieces made it was time to start putting the forward fuselage altogether. These first two pictures show the start of drilling the lower skin to the longerons.
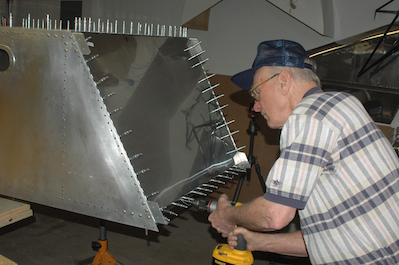
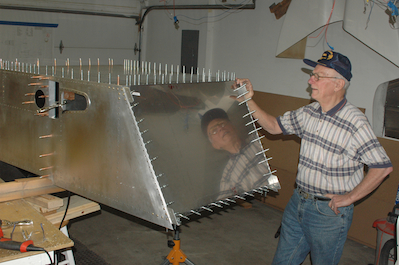
After drilling the lower and upper crossties it was time to position and drill the firewall. There are a lot of holes in the stainless so my Dad did some on the top attach point while I worked on the bottom attachment. The ones I did had pilot holes in the skin but not the firewall, so I found that starting them with a 1/16” drill through the stainless to be much easier then starting with a #40. By the time you get to the #30 size, any centering issues have been drilled away! Of course there is always time to look, admire and inspect.
|