Click on image to
|
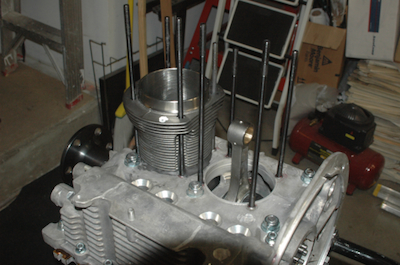
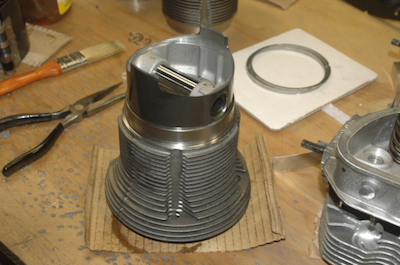
Last time I had cylinders and heads stacked on the case, now I have the cylinders really being installed. To get to the step in the first picture, I had to calculate the piston deck height and then calculate what shims I would need to get the compression ration I need for avgas. I measured it right and read and understood the directions but when I double checked my work, I reviewed the chart in the manual and got tripped up on a misprint. I only read one half of the sentence that repeated the manual text. Unfortunately, if I had read the whole sentence I would have seen that what I read had a typo. The long and the short of it is, I was short .03” in my shim selection. After I installed the first cylinder, I double checked my work again and this time realized that the chart had a typo and I needed a bigger shim! I took out the cylinder, cleaned it all up and did it again. That has all been done in this first picture. The second picture shows the next piston all ready to add the shim and sealant.
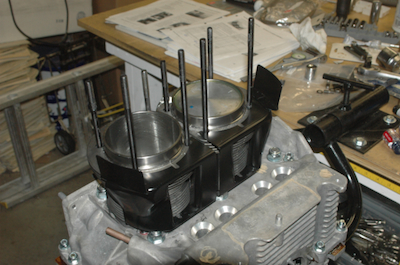
The first picture shows the first two cylinders in position along with a snap in part called the supper tin. It helps force the cooling air – which enters from the opposite side – to wrap around the cylinder and take away a little more heat away. With the cylinders in position it was time to mount the head. What a mess. I was alerted by another builders website to be extra vigilant in looking for chips from the extra machining Sonex does to the heads. They open up two more holes for a second set of spark plugs per cylinder. This is standard practice in most aircraft engines, both for redundancy and for a better fuel burn. Lots of lose stuff in the head cooling fins and some of it had fallen into the intake and exhaust ports and was lying on top of the valves! The second head was much cleaner.
|