Click on thumbnail
|
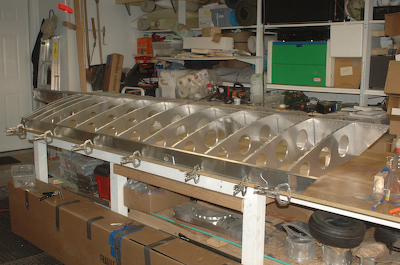
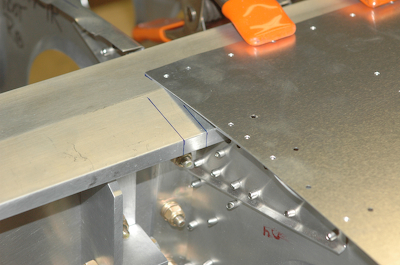
The first picture shows the squared and leveled frame all ready for the mounting of the top skin. Then comes panic. Unfortunately I didn’t snap a picture of the panic inducing sight. The second picture comes after the panic was resolved. Remember that 19” line. Well now there is an 18 1/2” line as well seen in the second pictute. The hole in the rear spar that lines up with the 19” line is hard to precisely align with a square, but the edge of the spar, exactly 1/2” away from the center of the hole is very convenient to use as an alignment point. I did this on the left wing and when I drew the 19” line on the right wing I had mistakenly thought the hole was at 19 1/2” from the 0 line and subtracted 1/2” to mark the 19” line. I then squared up the 19” line with the edge of the rear spar instead of the hole. So in the first picture the rear spar is 1/2” out of alignment. When I put the skin on and quickly clamped it up. I started to check the fit and my jaw dropped when I saw it lined up perfectly at the rear of the spar but at the main spar, the skin was not even covering the flange on the root rib – meaning, it couldn’t even be attached to the root rib for about 3/4 of it’s length. Fortunately, with it being off by so much a few seconds of thought and a look at the plans will usually resolve an issue. When you are trying to build something to ± 1/64, it is unlikely that you are off by so much.
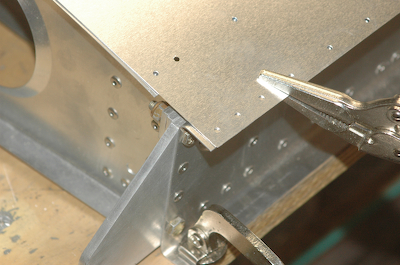
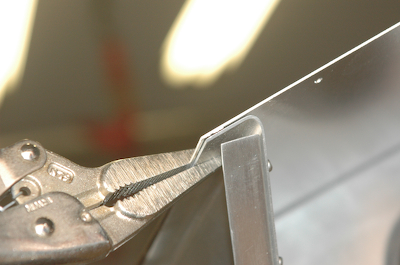
A resquaring of the wing and the skinning could continue. These two pictures show the skin after it was quickly reclamped but before it was really fitted into place. With a 10” long piece of metal and a quick alignment to the main spar, this is very close. It took about three small adjustment to get it all lined up.
|