Click on picture to
|
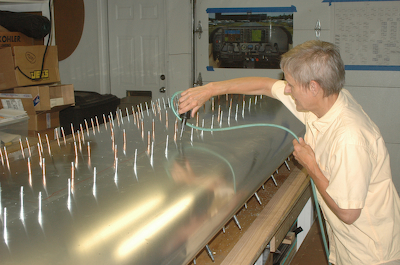
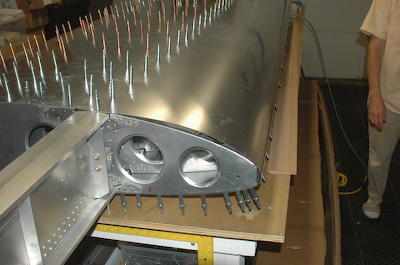
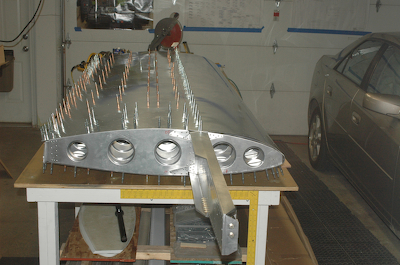
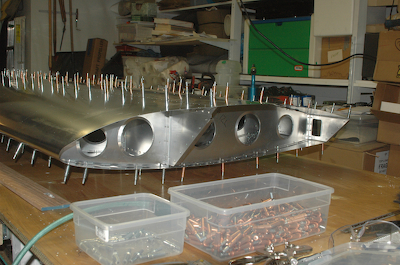
This is were everybody has pictures showing their rig for pulling the leading edges skin tight enough to attach it to the spar – usually with ratchet clamp belts running over two by fours. This is also where you find out if the skins are square with each other and in alignment. I figured I would have my picture of that setup as well, hopefully with aligned skins. The first picture say’s it all. With a helper and a properly drilled wing it aligned perfectly and I was able to push the skin into position so that Kathy could drive home the clecos. No ratchet belts. The secret to being able to push the skins into position was the piece of oak molding visible in these pictures. I was able to position it a couple of inches from the leading edge and – distributing my weight by placing my hands about three feet apart – pushing down first and then towards the spar. On my first attempt, I was able to see that the holes lined up great and that if I held it firmly and for a long enough time someone else could insert the clecos. I called Kathy and when I said go, she had three clecos in in seconds. She then went up and down the line while I continued to push and it was on. The remaining pictures show the wing how I left it for the day. The next step is to drill the top holes working toward the leading edge just like the bottom side.
|