Click on picture to
|
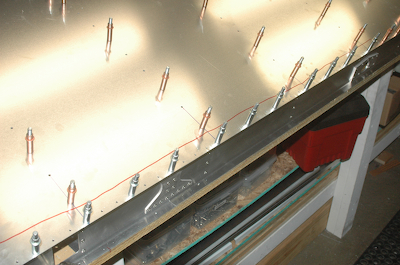
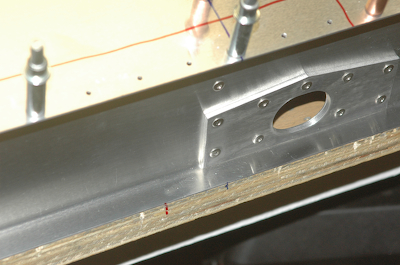
When that was done and my inventory of silver clecos was replenished, it was time to prep for attaching the bottom skin. Before removing the clamps holding the frame and skin square and level, I had to transfer alignment marks so that the bottom skin would line up – hole to hole – with the top skin. If they don’t, the pre drilled forward skin will not be able to be attached! These first two pictures show part of that process. I drew a line square with trailing edge through the aft two drilled holes. I then transferred that line to the top and bottom aft edges of the rear spar. In the second picture, you can just see the blue line on the aft edge clamped to the table. (By the way, the red mark to its left is one of several witness marks I made after clamping the squared and leveled frame in place. If it moved while I was aligning or drilling the skin I would see the movement. I checked them several times and never had a slip.
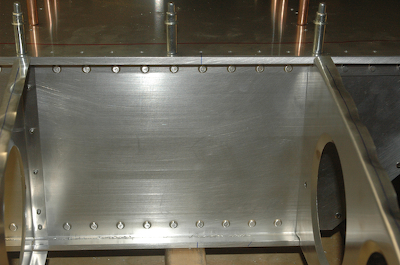
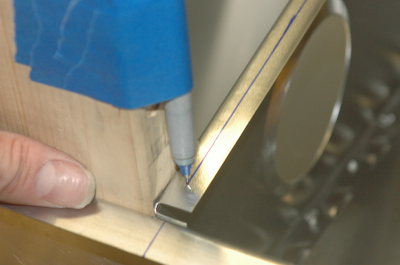
I also had to transfer the alignment at the main spar. The first picture shows the alignment marks after I added them. Notice that they don’t quite line up with the rivets in the spar, ideally they should. They are only off a little and it is far more important that the two skins align and are square with each other. The second picture shows the magic blue line tool. The wing has been released from its clamps and turned over. Notice the blue line on the rear spar. This is the transferred alignment mark. If I align everything right, the blue lines on the spars should be visible through the holes.
|