Click on picture to
|
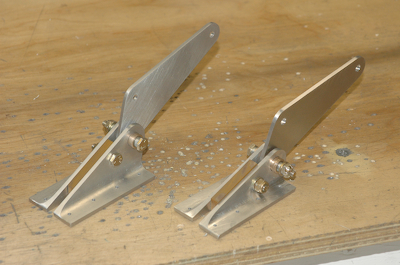
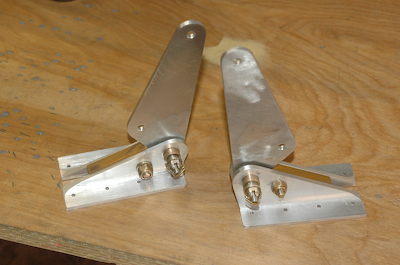
In the last post I mentioned that I needed to remake one angle on the left bellcrank. I did that yesterday and the first picture below shows both bellcranks after remaking the part and making them ready for installation. Guess what, today I decided that they were still a little too tight. I did some additional light reaming and repacked the bushings with grease and then I was finished, even added the cotter pin – second picture below.
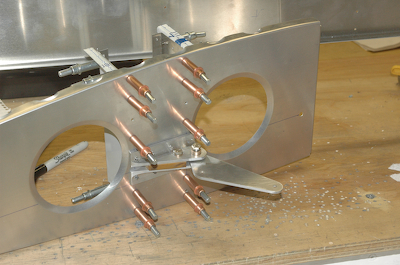
Not so fast. When fitting all the pieces together in the picture below, it became obvious that I would have to remove the bearing to drill the pilot holes. I used the plans pilot holes but for this sequence I would rather have the pilot holes for those two spots in the channel. So, out came the cotter pin and I drilled the holes, then repacked the bushings and NOW the left hand bellcrank is assembled.
|