|
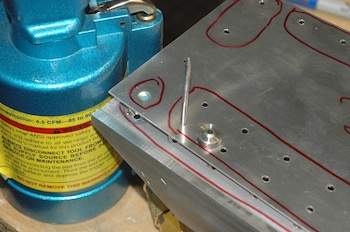
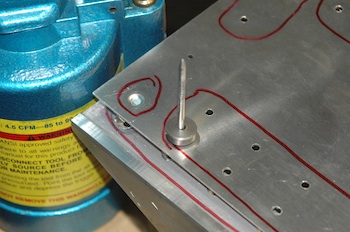
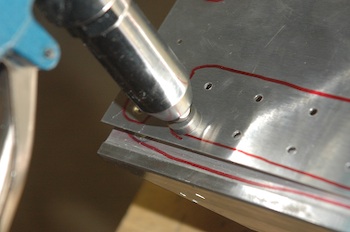
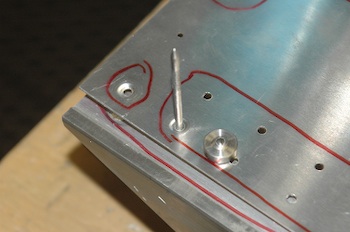
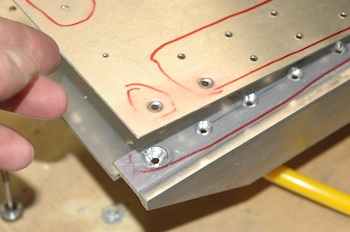
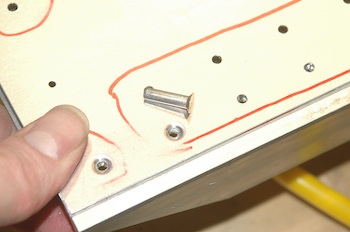
With plenty of emphasis on the ready... ...but first, a visual guide to dimpling - the how and why. Based on several e-mails some people seem to be confused by my description of using a nail in the dimpling process. The nail is just a tool, it is used to work the dimpling dies. It behaves just like the stem of a pulled rivet – of which I have already installed a couple thousand and have about 7000 to go. In a pulled rivet the stem is pulled until it reaches the breaking point of the steel. The stem then breaks leaving the rivet behind. In this case I want to put a dimple in the thin material. I use a two piece die that forms the dimple when they are squeezed together. The nail is inserted into the bottom die and then through the hole. The top die slides over the nail, and then the rivet gun grabs the nail and pulls the two dies together. The nail is thicker, and much stronger than the rivet stem of a pulled rivet so it doesn't break. After dimpling one hole I move on to the next. Why dimple? Because I will be using flush rivets in these holes and the top layer of material is too thin to countersink. The layer of material directly underneath the top sheet is thick enough to countersink and will have a countersink under every dimple in the sheet above it. The dimple sits in the countersink and then I put in a flush rivet – all of which are solid, not pulled, in the spar. Solid rivets are the kind most people know about. They are harder to install than pulled rivets and you need to mash them just right. These six pictures show the process step by step.
|