Click on picture to
|
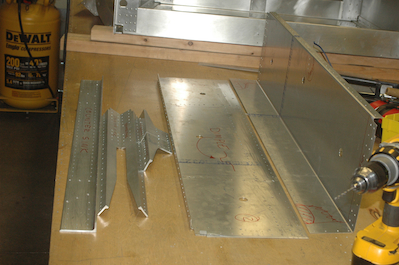
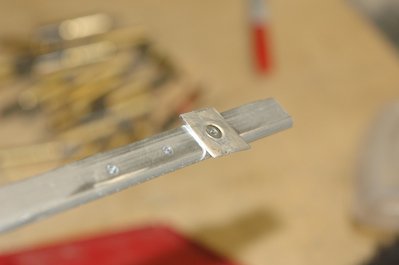
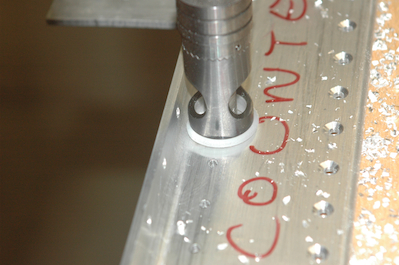
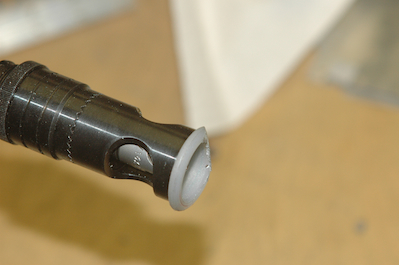
After all the blue tape work it was time to start countersinking. The first picture shows all the pieces that get countersunk or dimpled. The second picture shows test piece I did to set the depth of my micro-stop countersink unit. It is setup for all the rivet holes first. I reset it later for the larger screw holes. Pictures three and four show how I modified the plastic foot to allow the unit to get close enough to the radiused corner of the angle piece.
|