Click on a picture to
|
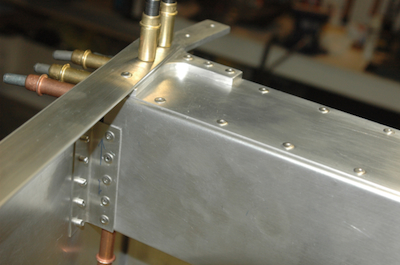
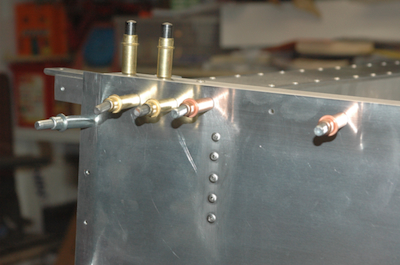
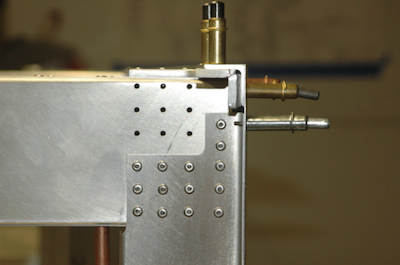
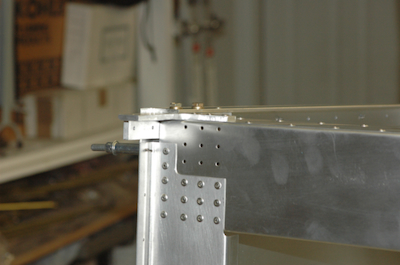
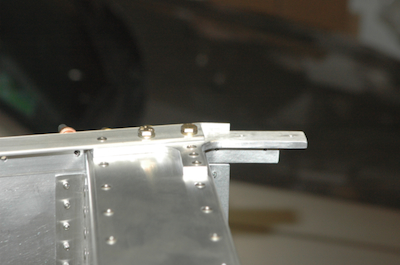
I continued forward, partially attaching the upper cross ties as I went. When I got to the forward cross tie box it got attached to the upper splice plate and to the clips on the rear shown in these first two pictures. The cross tie box was also riveted to the vertical channels – completed on the right side in the next two pictures.
These two pictures show the splice plates now riveted and bolted into the cross tie box and the upper longerons. These are four of eight bolts that have nuts that attach from inside the cross tie box. That is why the bottom of the cross tie box was not riveted on. You have to attach all eight bolts before you close off access.
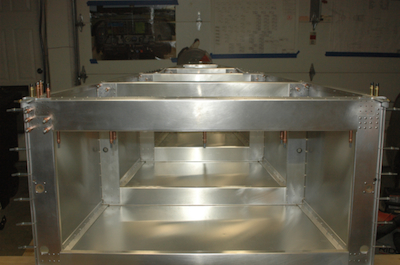
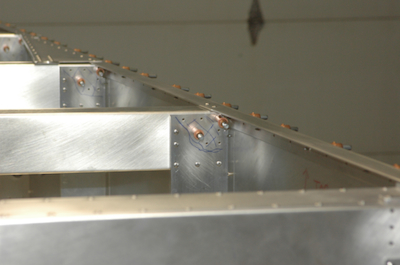
The first picture below shows the upper cross ties behind the box beam. They are only partially riveted because the formers attach to them. The blue area was my warning to myself not to rivet those holes. And then the turtle skin goes on. At this point, the lower box assembly is complete as shown in the plans.
|