Click on picture to
|
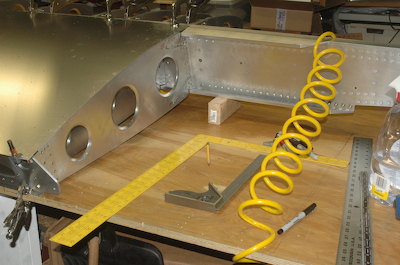
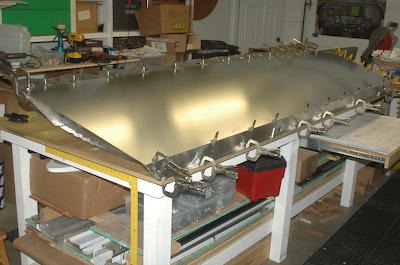
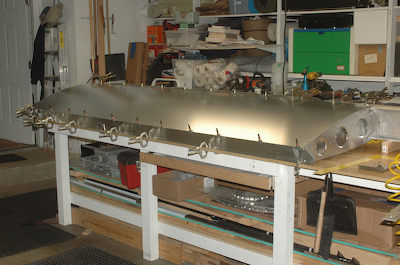
With the frame all done it was time to actually attach a wing skin, but first, some rigging and measuring. In the first picture below – it is hard to see – I dropped a plumb line down from the 0,0 station of the main spar. I also dropped a plumb line down from the rear spar attach hole. At this point I have leveled the spars and squared them with the edge of the table so I can draw a line parallel with the edge of the table from the rear spar plumb mark to a perpendicular line from the 0,0 plumb mark. The distance along the line parallel with the table between these two marks had to be 19” – and it was! That was the final check. The two pictures further down are after all the measuring and double checking was done and the wing skin was in position. |


