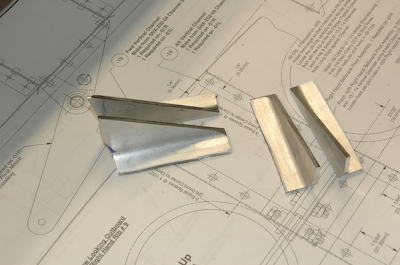
Back to the angles. Trim the feet, radius the corner, pilot drill, finish drill and ream and you have a finished bellcrank. Right?
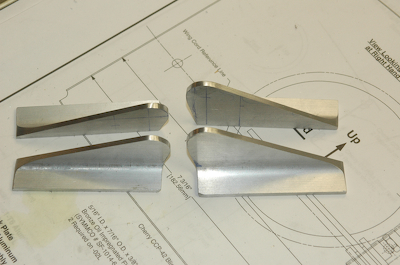
Not quite. The nearest angle to the camera in the second picture below has to be remade. In drilling for the bushing, I made too deep a cut with my step drill. I didn’t even notice until I went to put it together.
I thought I had stopped with the final size just started but I was one size too big! Not sure how that happened. It actually has a small part, about 3/64”, of the 1/8” deep hole the correct diameter, so the bushing actually rest nicely in the hole, but it gets no support from the rest of the hole. I had to remake one of the other angles as well, but I used a scrap piece that was just long enough, so I had congratulated myself on efficient material usage. A little too soon as it turns out.